Now matter how many times I try displaying code in presentations; pictures, plain text, live code, IDEs, etc; I always want to go back to simple syntax highlighting of static code.
Syntax highlighting source code in Keynote is a gigantic pain. You need to do it yourself or copy colored source from some other location like a website or document. If you need to refactor the code in your slides (and boy does that happen) then you need to rehighlight that slide and all related slides.
For a while I’ve used a command line solution that pipes a file through highlight and pbcopy to then paste in to keynote. It works, but is cumbersome. I recently found a post on Randy Coulman’s blog that inspired me to put more effort into making this work exactly how I needed it. That blog was great but, having no experience with Automator it still took some time for me to figure out how to get this working.
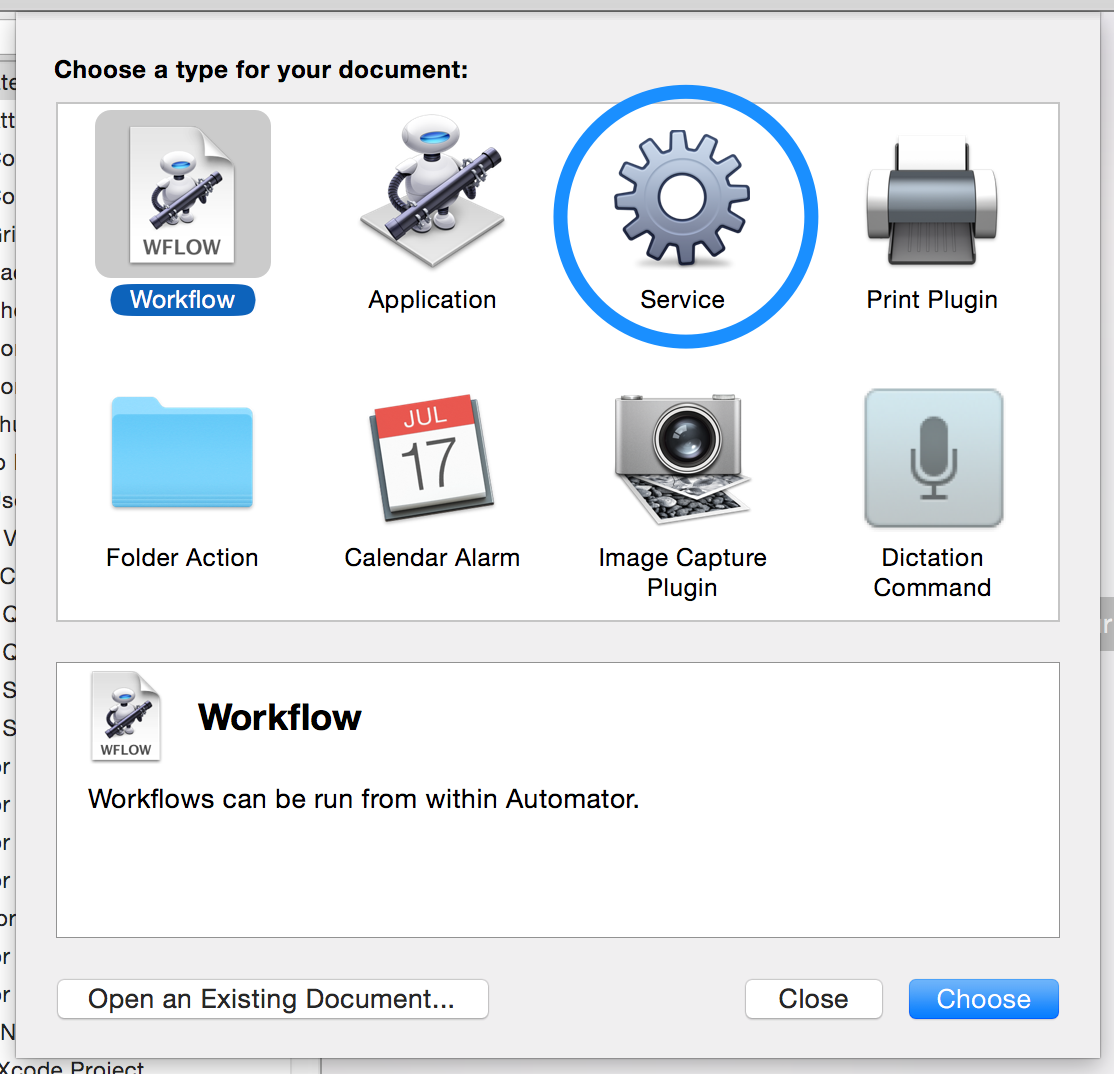
First, open up “Automator” and create a new service.
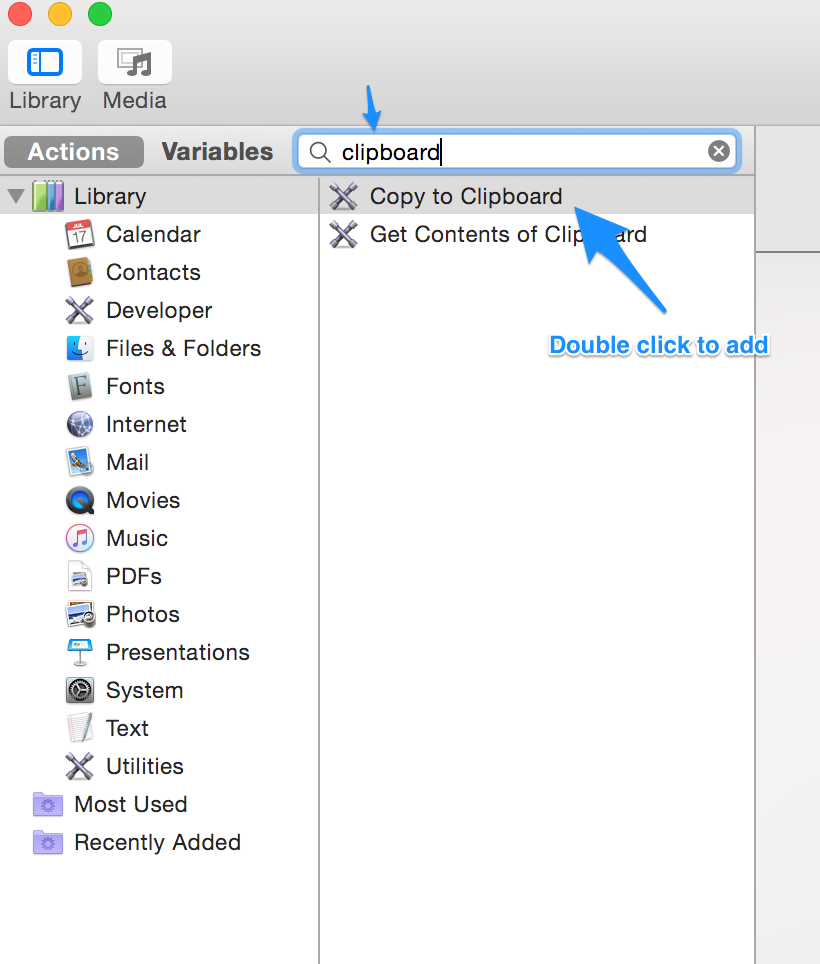
Then add an action to Copy to Clipboard.
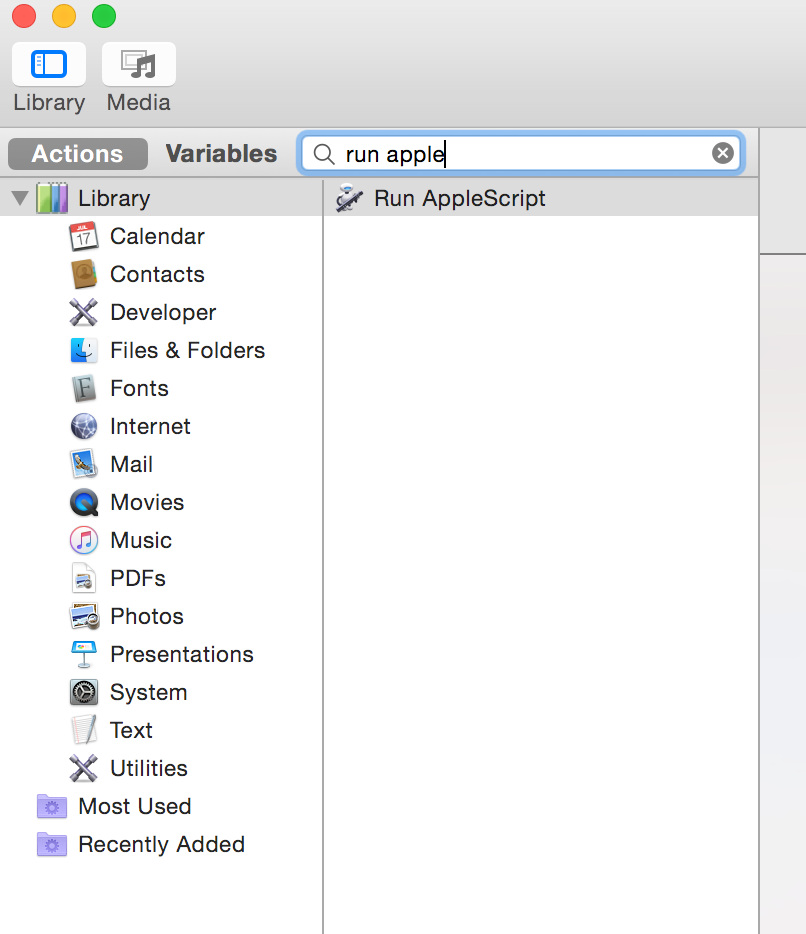
Then add an action to “Run AppleScript”
Your command flow should look like this now, note the block in the AppleScript where your custom code will be placed.
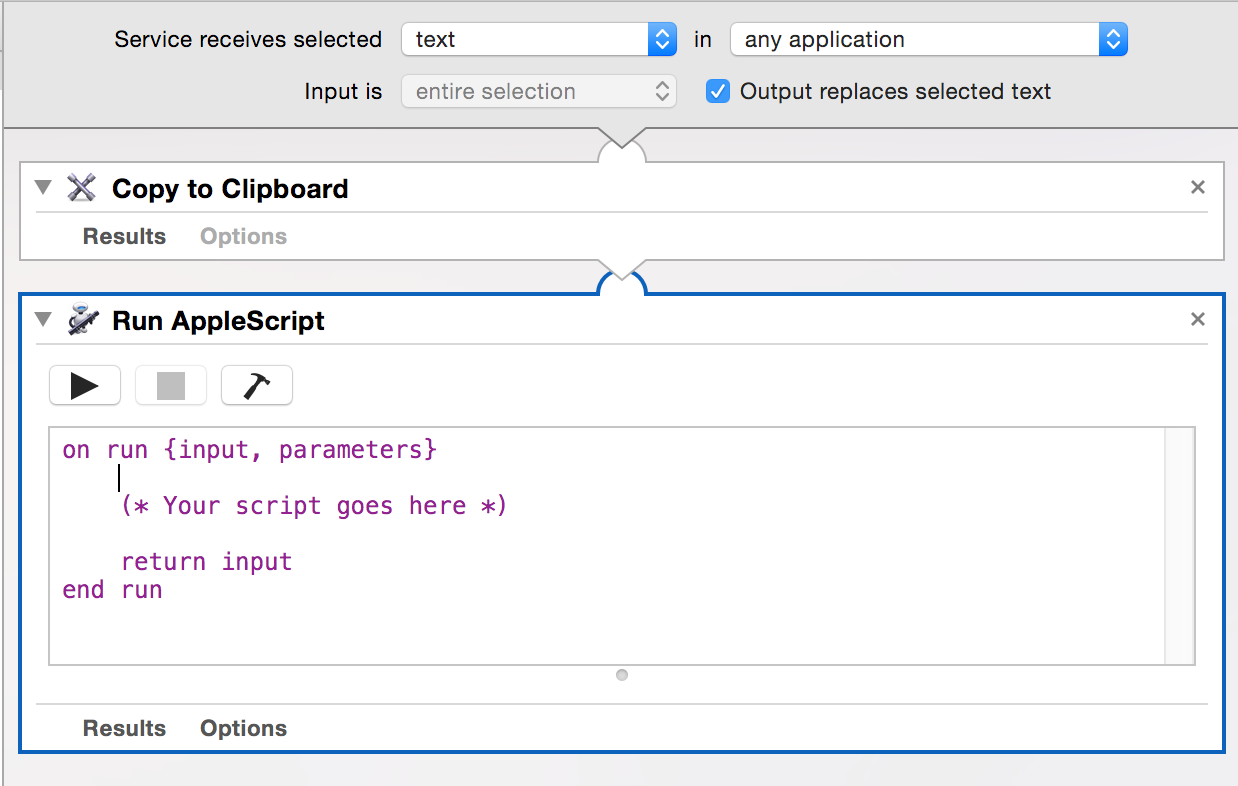
Replace the comment with the following AppleScript (customizing the “command” with the options you need)
set command to "/usr/local/bin/highlight --syntax js --out-format rtf --style solarized-light --font Menlo --font-size 40 "

do shell script "/bin/bash -c 'pbpaste | " & command & " | pbcopy'"

tell application "System Events" to tell (process 1 where frontmost is true)
  click menu item "Paste" of menu 1 of menu bar item "Edit" of menu bar 1
end tell
Once you’ve done that, save your service and name it something that you can find later.
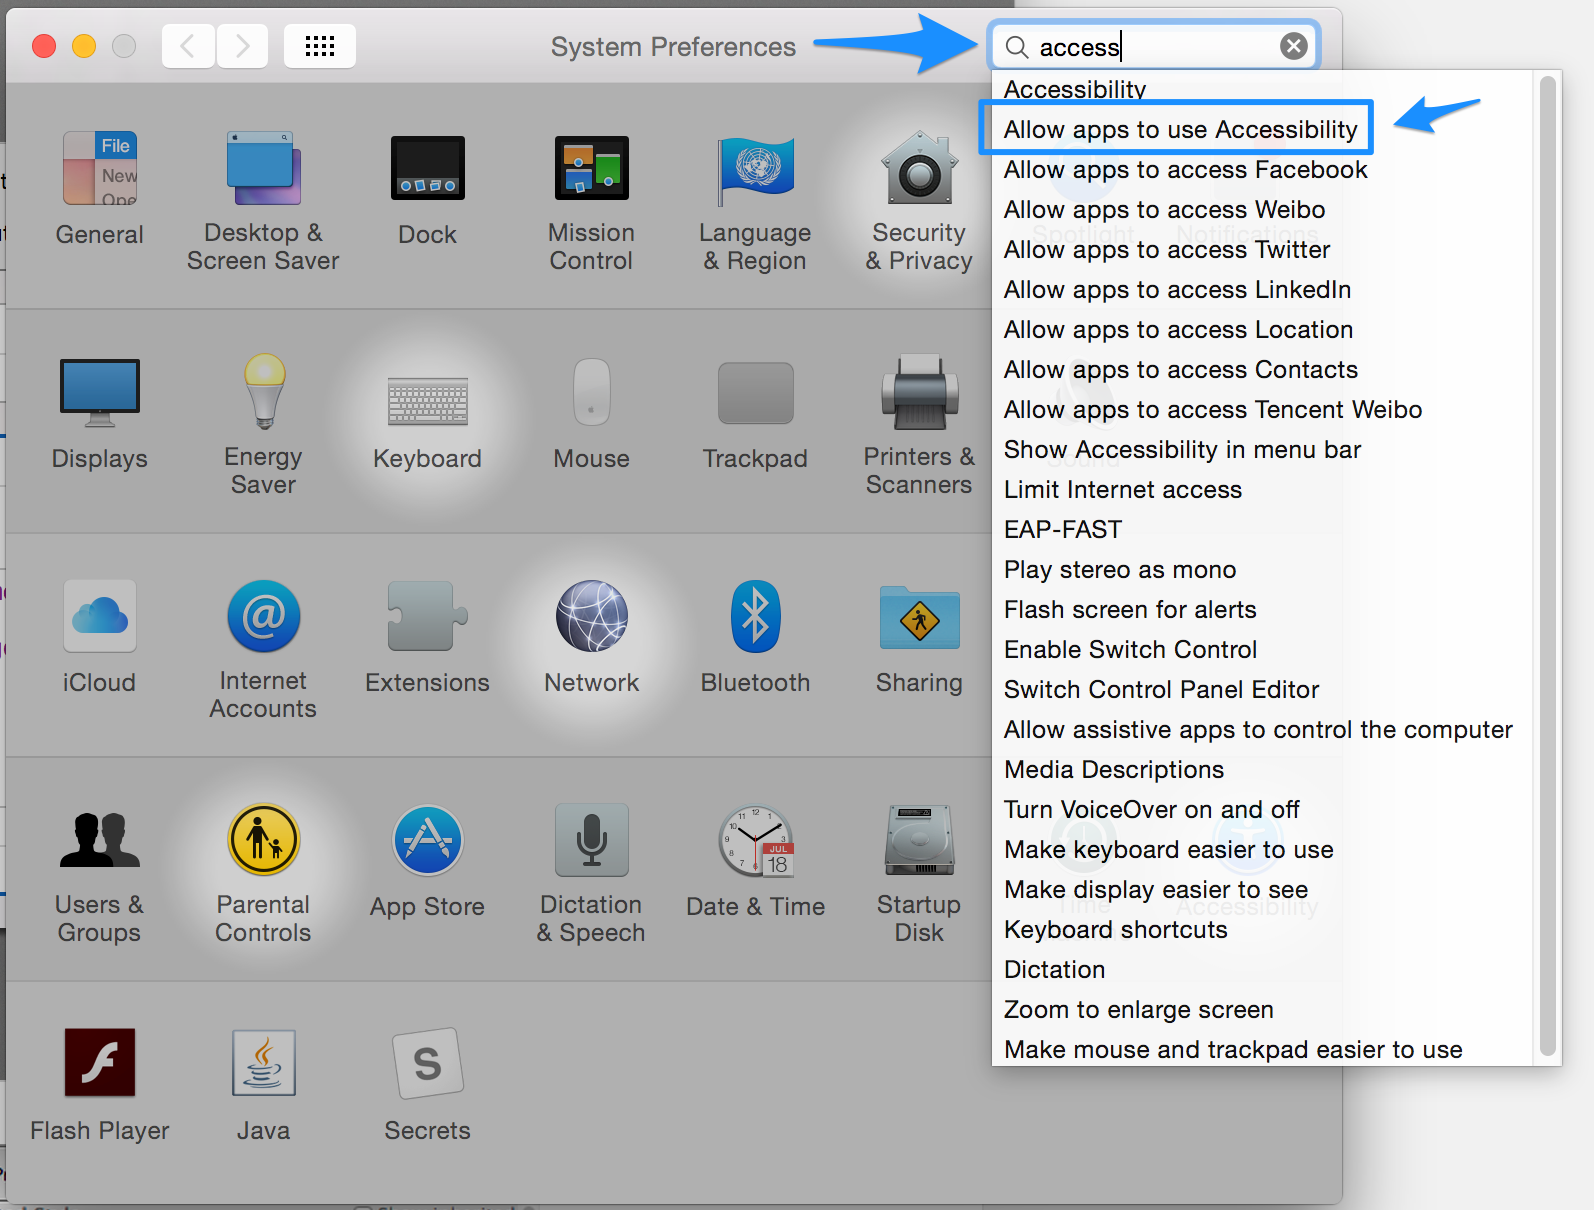
Now you’ll need to give Automator and Keynote access to control applications. First, open up “Security and Privacy” then highlight the “Privacy” tab. A shorter way to get there is to just search for “accessibility” and click the option below.
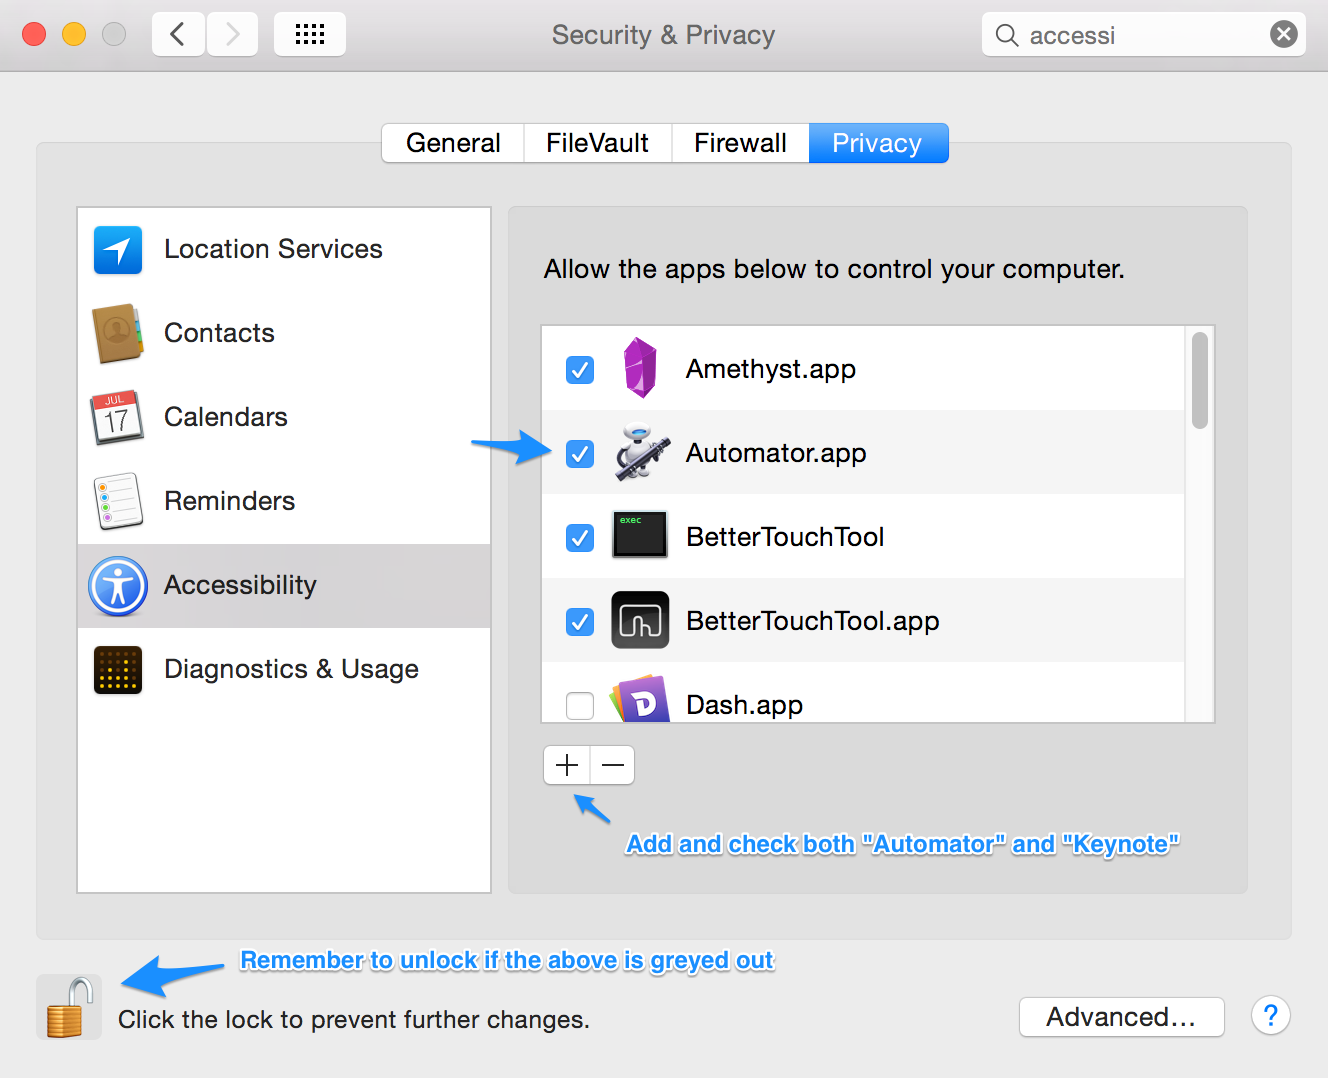
Then authorize both “Automator” and “Keynote” to control your computer.
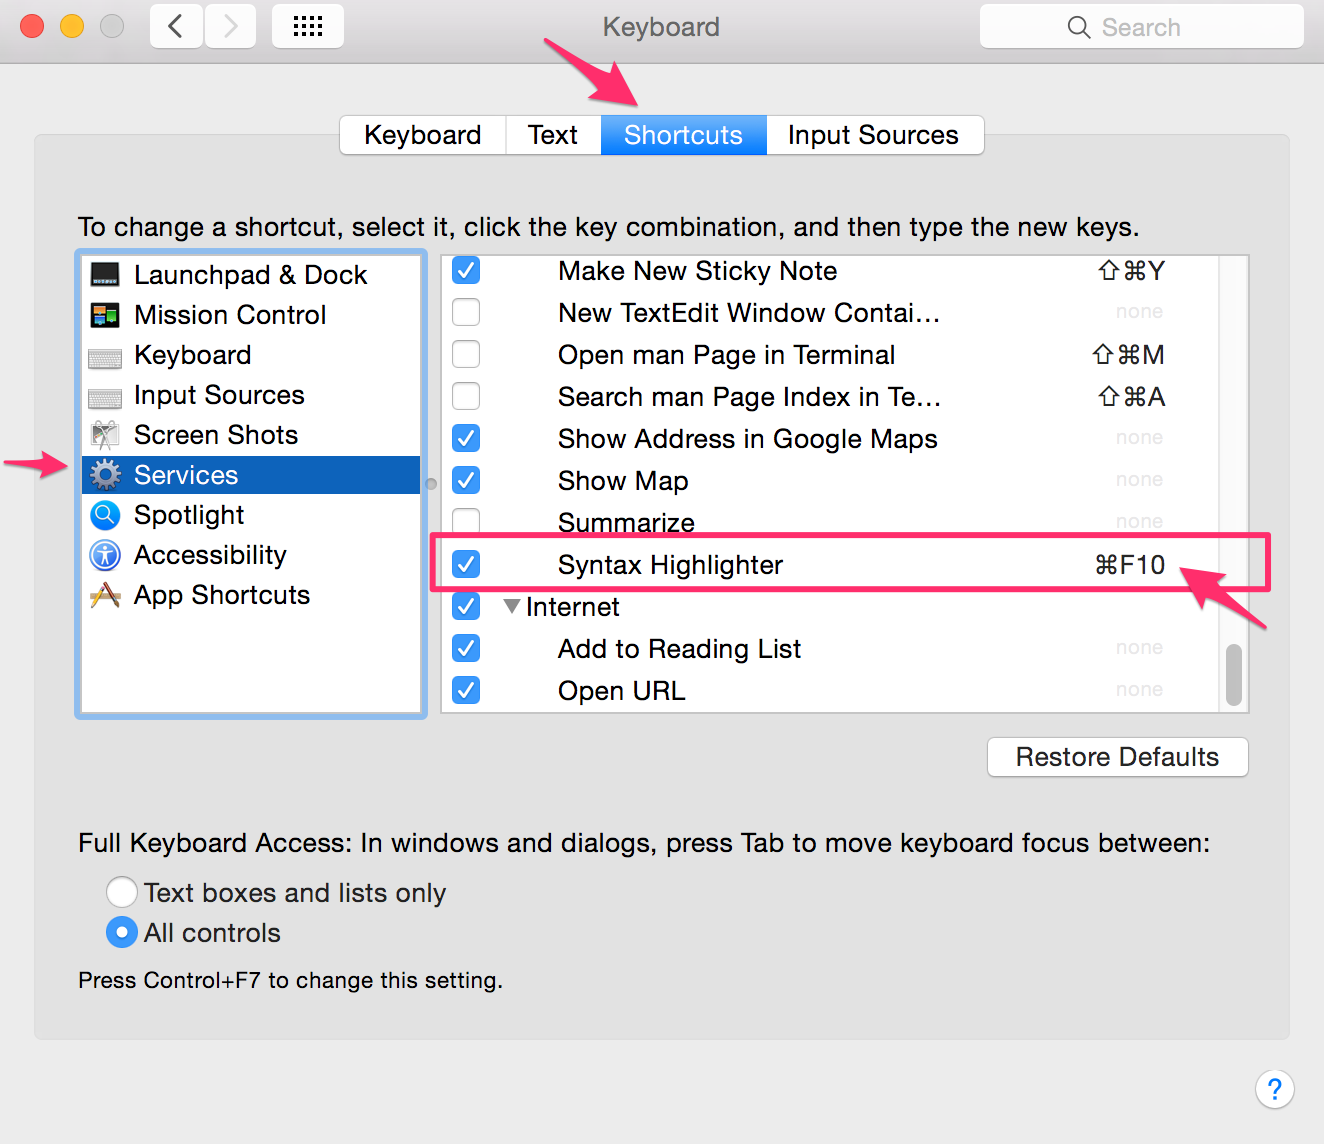
Almost there! Now we just need to set up a keyboard shortcut so that we can run our service. Open up the keyboard settings in “System Preferences”. Under the “Shortcuts” tab, click on services in the lefthand column, find the service you created, in my case it was called “Syntax Highlighter” and assign it a shortcut (I used “⌘F10”).
Phew. Now, if all went well, you should be able to open Keynote, highlight some text, press ⌘F10 (or your shortcut of choice) and enjoy your beautifully highlighted source code!
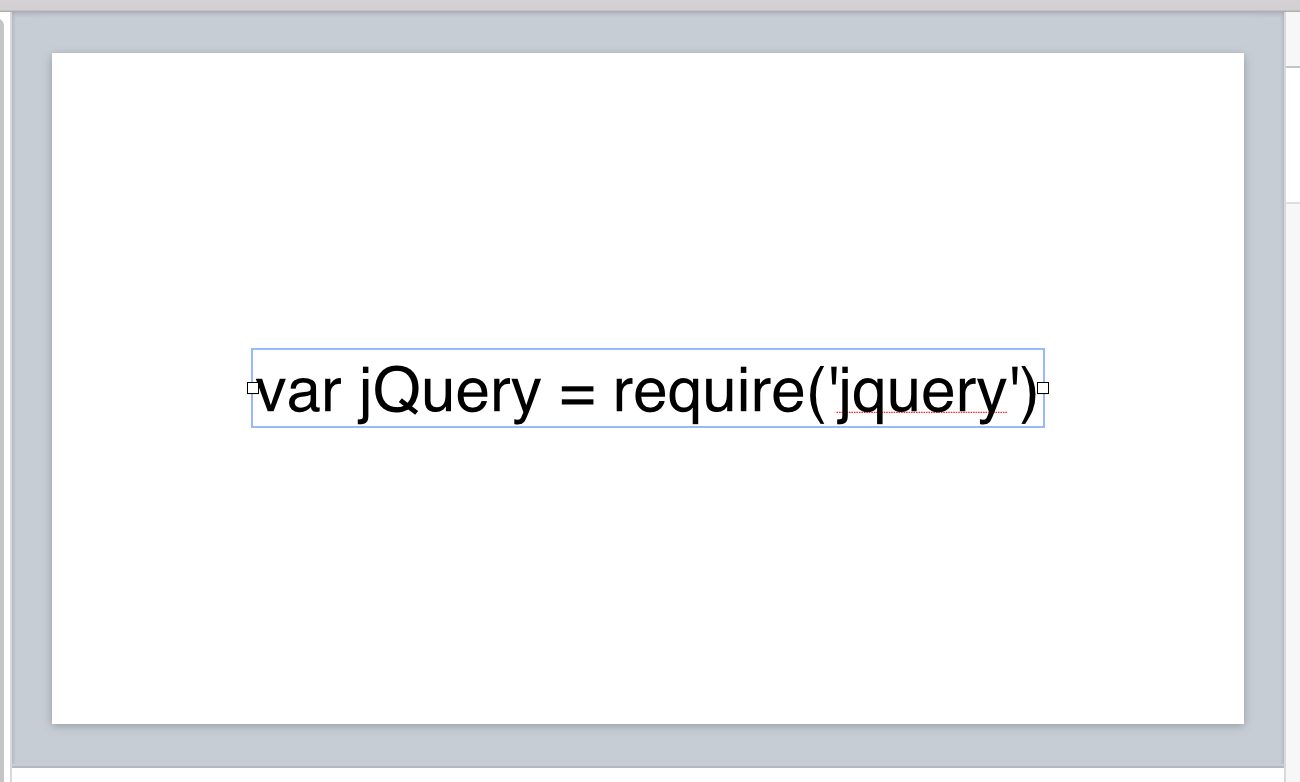
Turn this:
Into this:
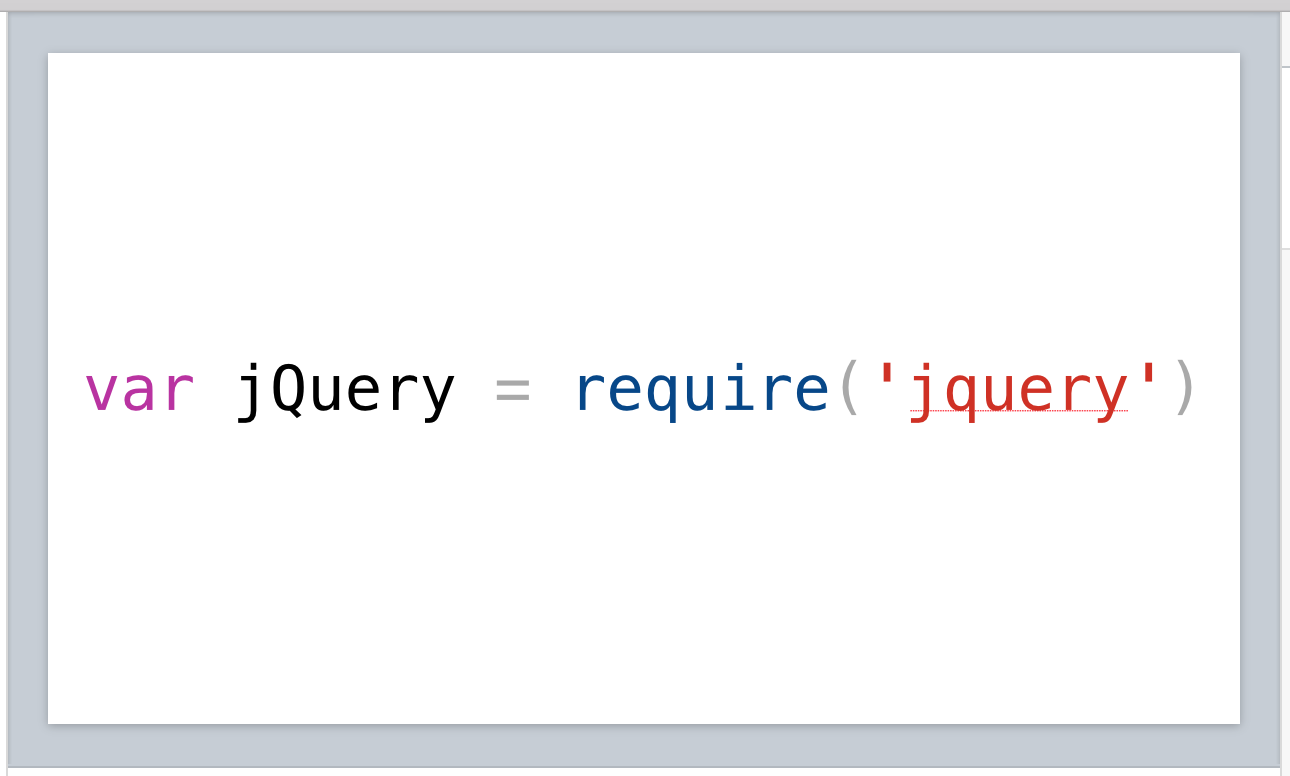
Bonus: Chrome DevTools theme!
I use a lot of Chrome DevTools and I find the color scheme to be instantly recognizable and familiar.

I created a theme for highlight that mimics that style. It’s not exactly the same, I added slight highlighting for methods and greyed out operators a little because I find that more useful for presented code.
If you want to use it, create “chrome-devtools.theme” in your highlight theme directory which you can find that by running “highlight -w”. Add the following to that file.
Description="Chrome Devtools"

Default = { Colour="#000000" }
Canvas = { Colour="#ffffff" }
Number = { Colour="#1c00cf" }
String = { Colour="#c41a16" }
Escape = String
StringPreProc = { Colour="#c41a16" }
BlockComment = { Colour="#047604" }
PreProcessor = { Colour="#c41a16" }
LineNum = { Colour="#808080" }
Operator = { Colour="#999999" }
LineComment = BlockComment
Interpolation = Escape

Keywords = {
 { Colour= "#aa0d91" },
 { Colour= "#aa0d91" },
 { Colour= "#aa0d91" },
 { Colour= "#003377" },
}
Good luck and please comment with any improvements or changes!
It might be worth noting the Highlight package needs to be installed ahead of time. I didn’t have it on my system and was following the instructions blindly